Kyoto drip tower on a budget
Introduction
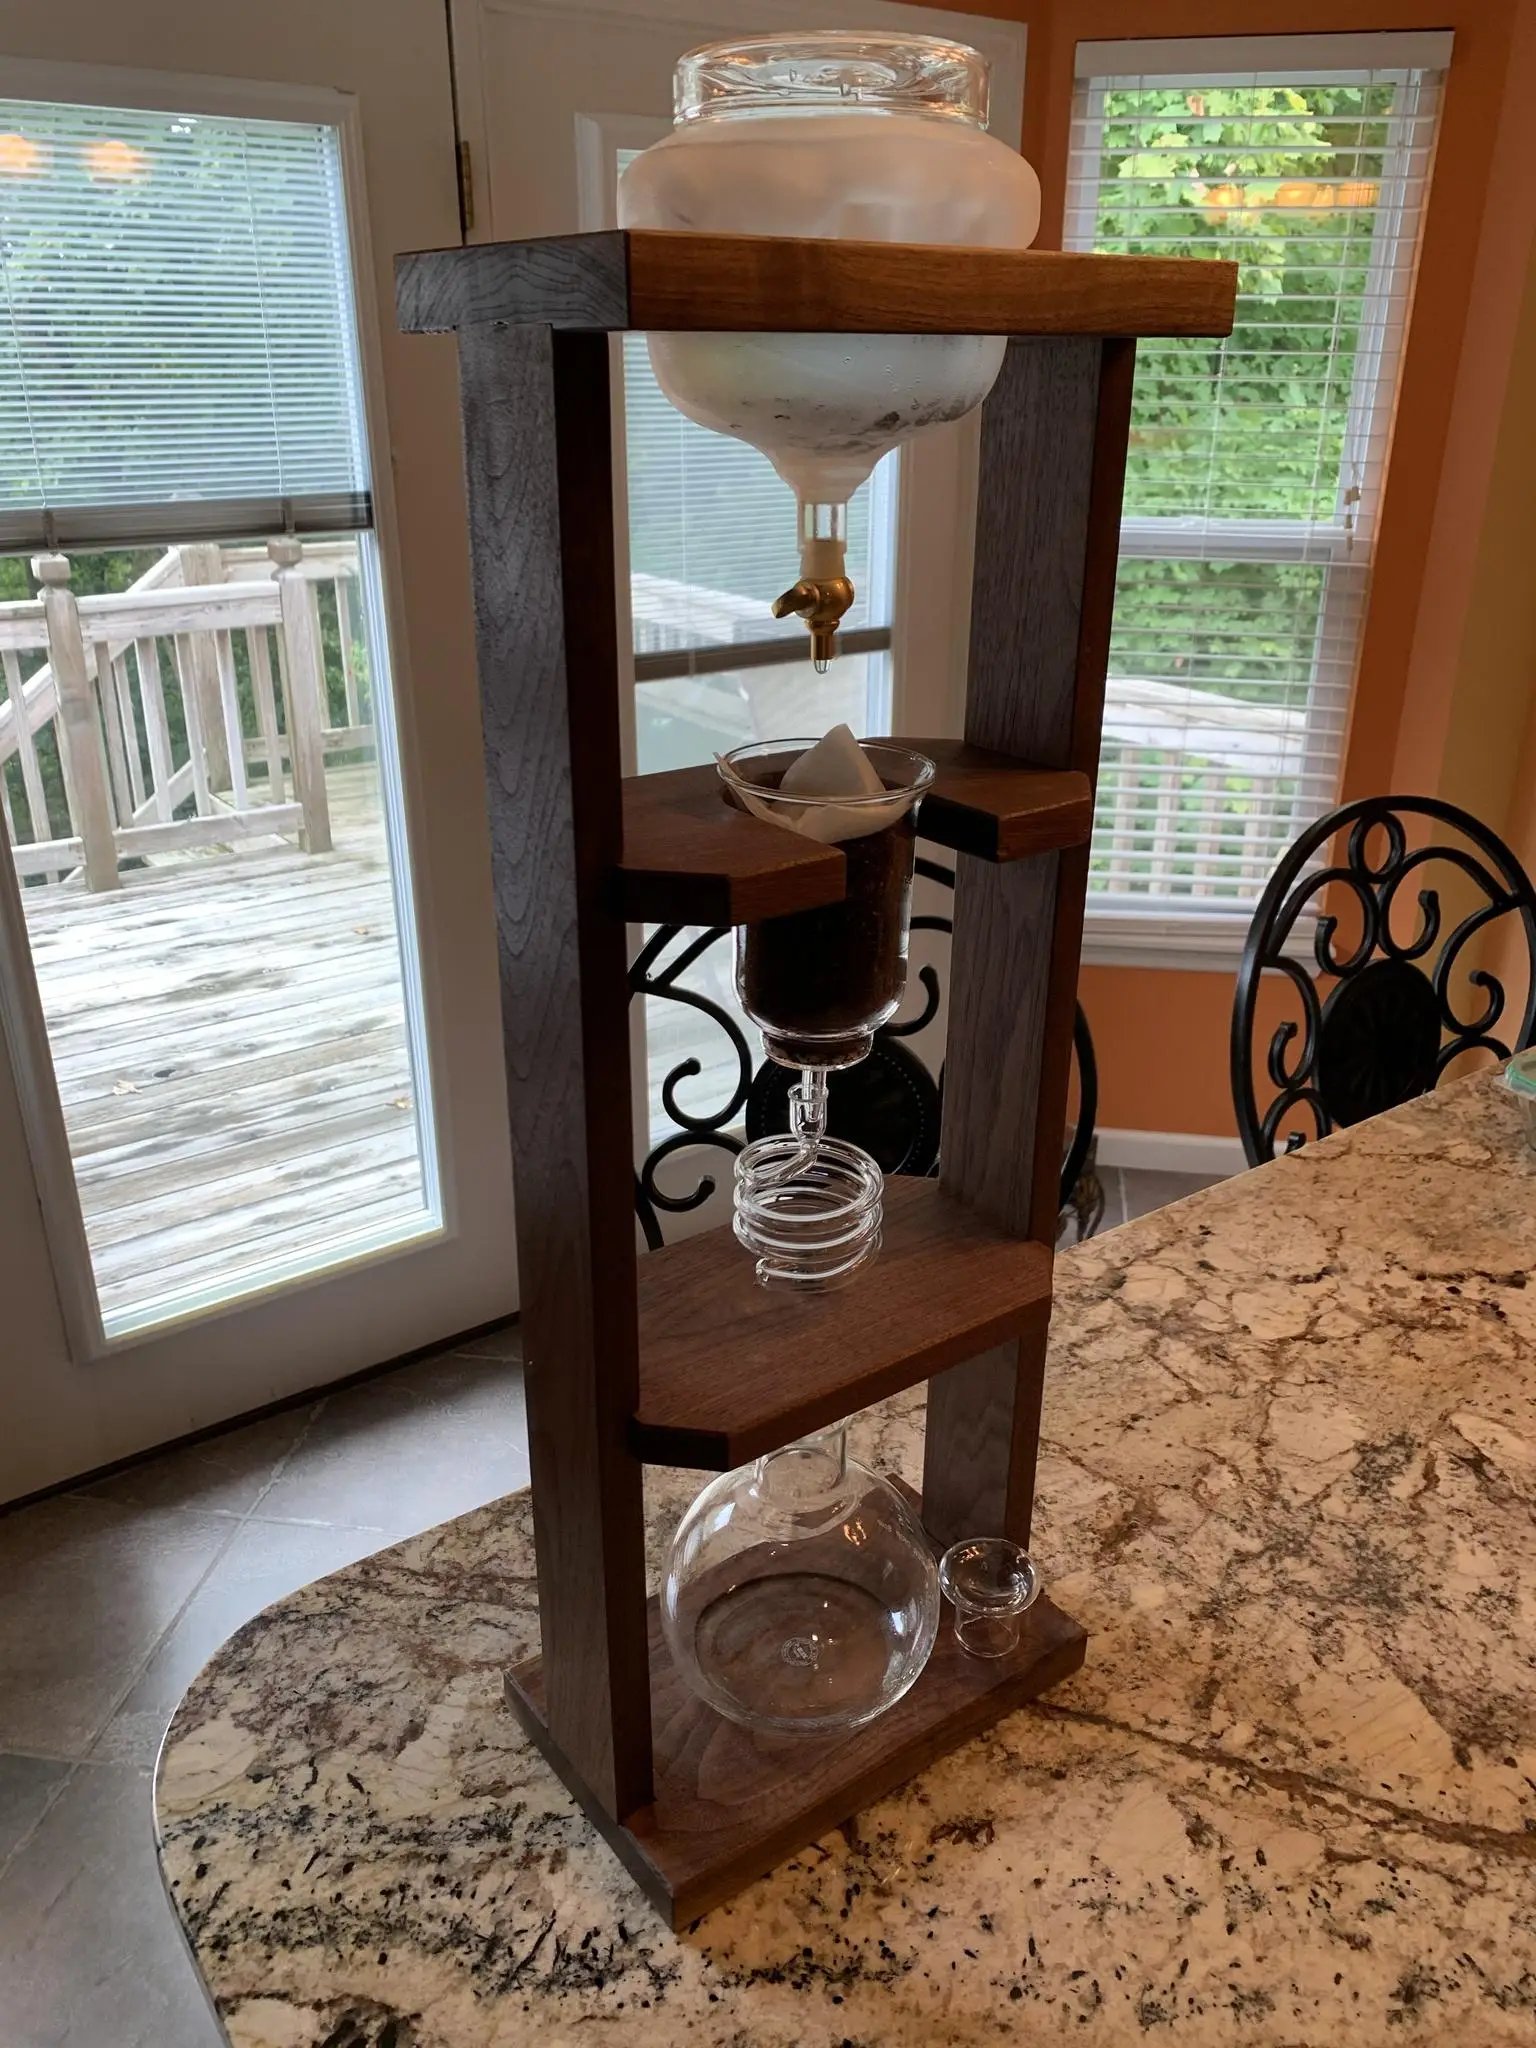
Last week, inspired by Instagram reel sent by a friend, I started digging into the topic of Kyoto drip towers. They look quite epic, and as a fan of overengineering - in general but also in the context of coffee-making I grew curious about the method. But I met one quite major problem on my way here - the budget. I don’t mind long brewing time - one of my favorites is classic cold brew, coffee left for 16-20 hours to brew.
The cheapest device, which I found on Amazon, costs almost 80 dollars with shipping to Poland and it seems like people complain a bit about the quality in reviews. I’ve decided that this can be done cheaper, on a budget, using easily available items or something that I already have in my kitchen.
BTW, the picture above is from the Reddit thread.
The method
According to article about Kyoto style coffee, the method originated from Japan, where is has been traditional brewing method from centuries. Also known as Dutch coffee in East Asia (coffee essence was brought there by the Dutch) refers to process in which water is dripped through the coffee grounds at room temperature for many hours. The drip rate is regulated by valve and the whole process can take between 4 to 24 hours, depending on pre-infusion, temperature and drip rate.
The ghetto cold drip tower!
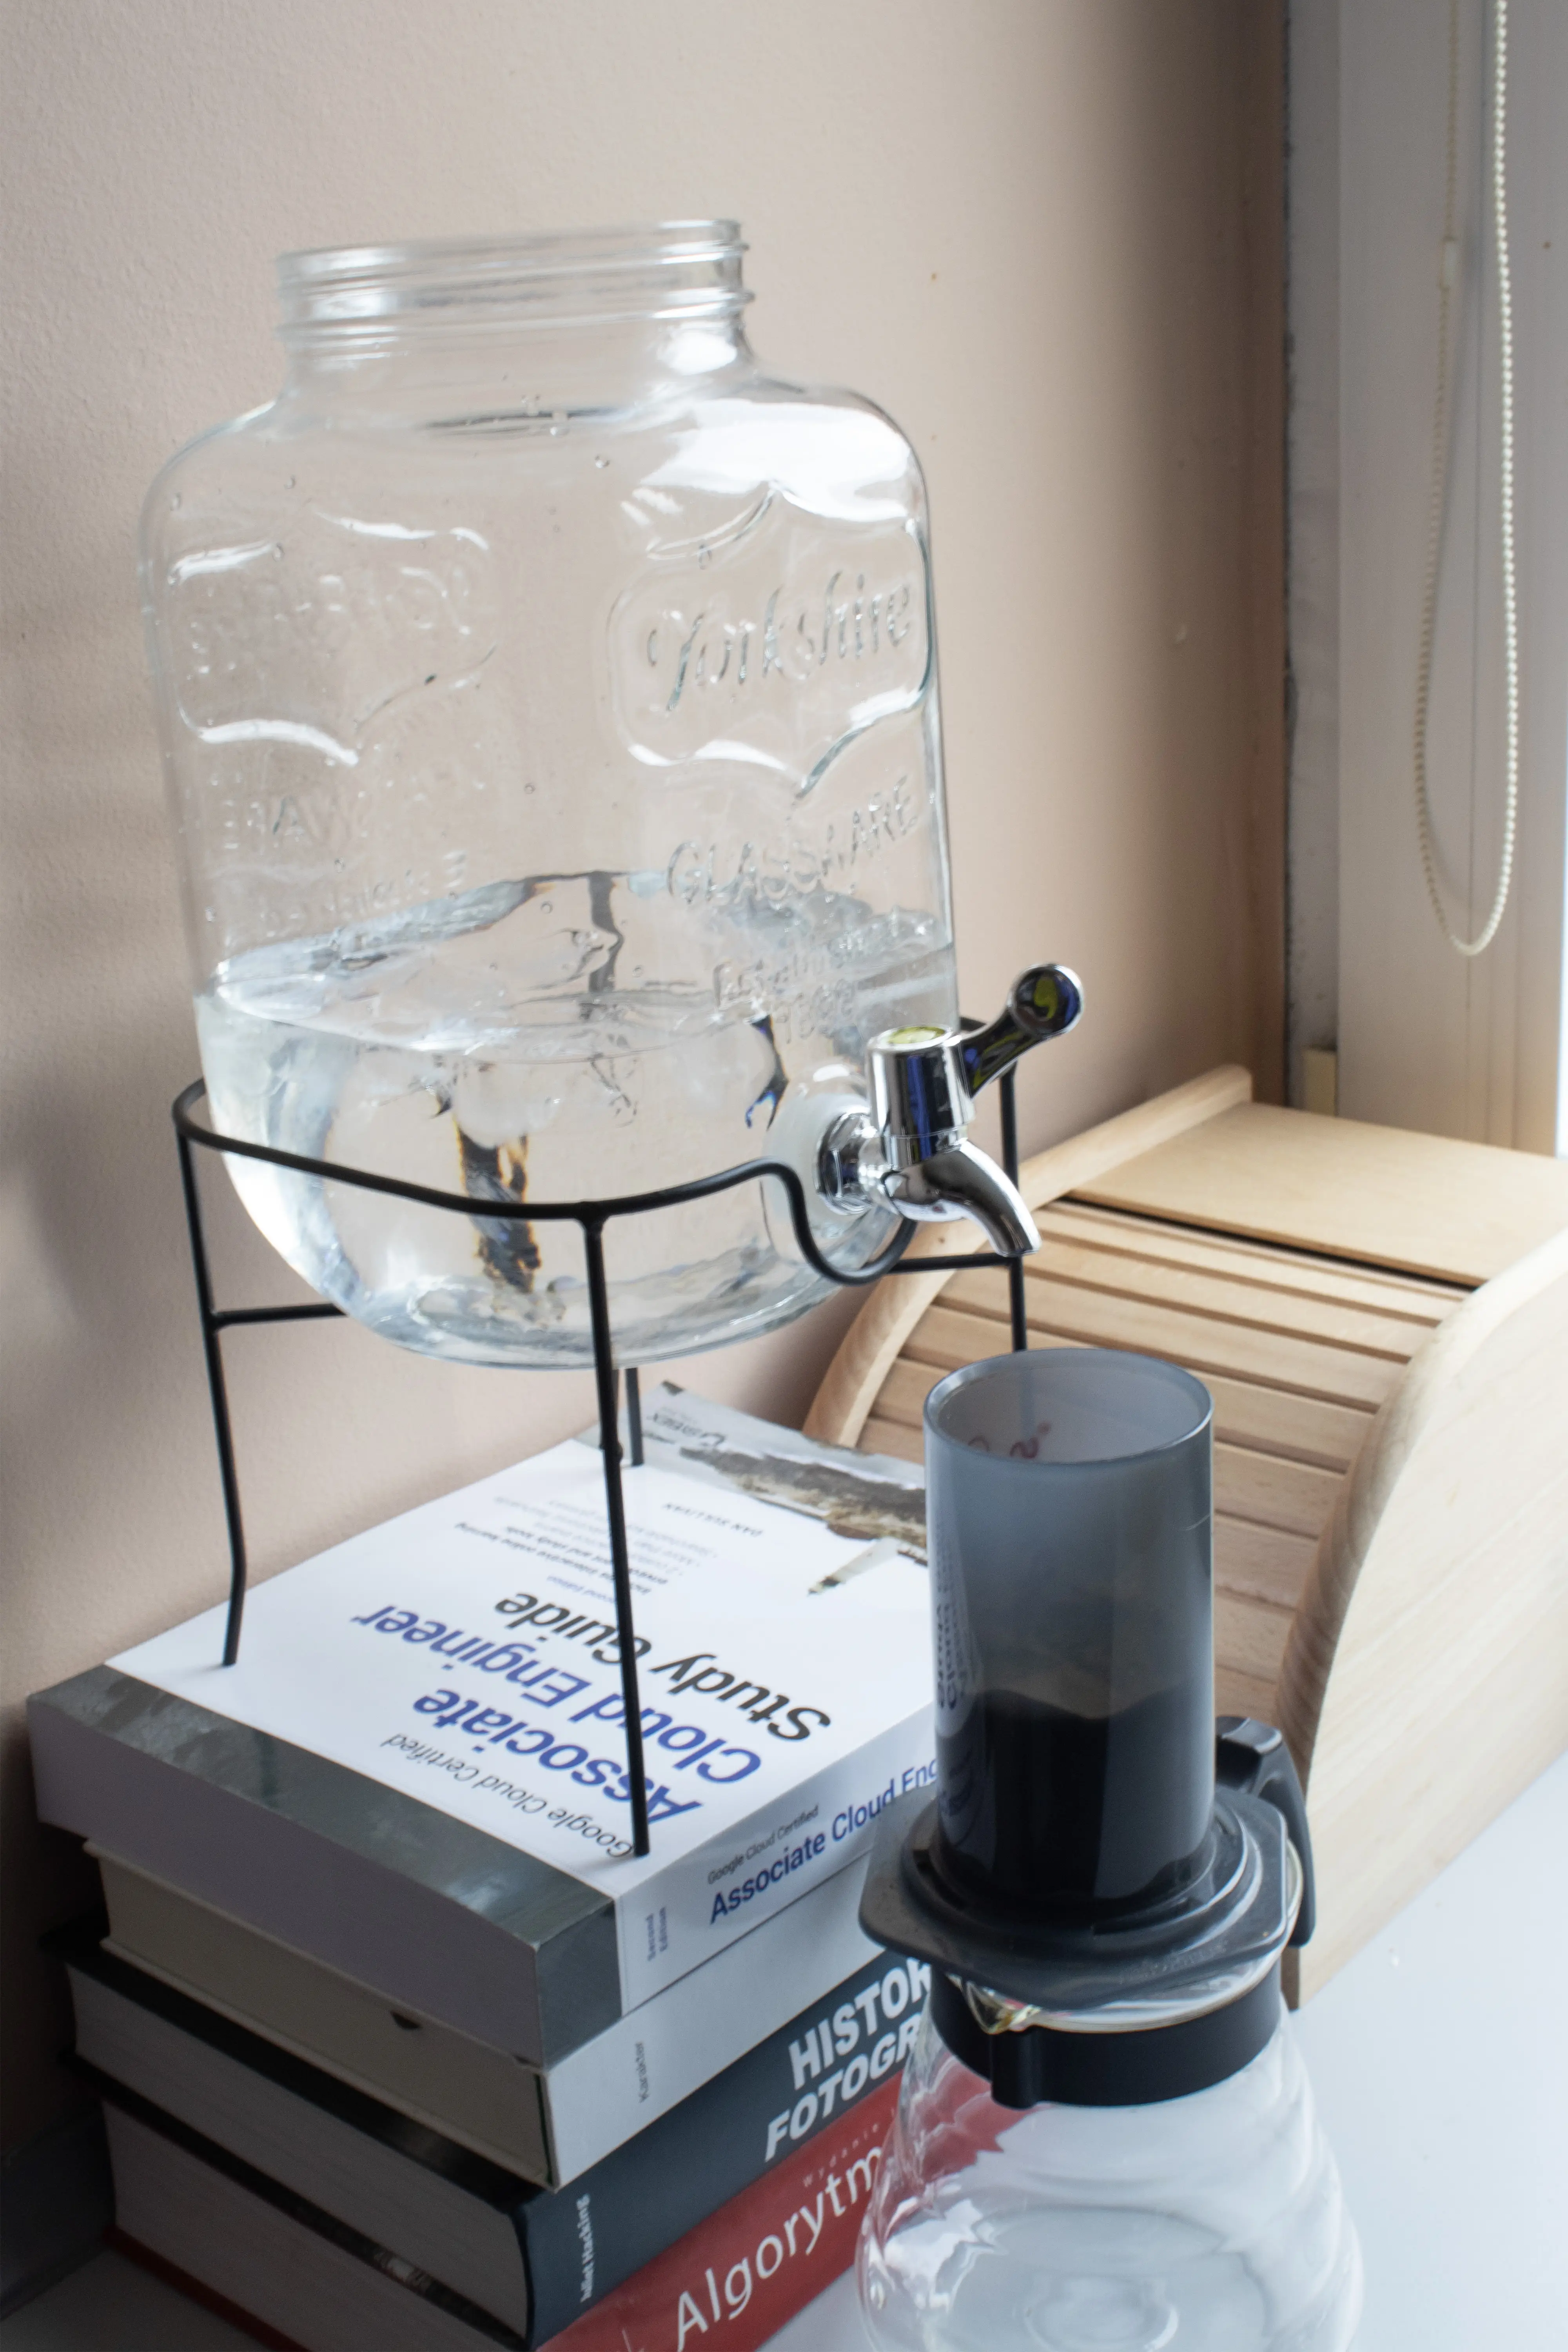
Let me present to you Ghetto cold drip tower! It’s built by using cheap, tap jar - it costs around 15 dollars, but it’s useful in other contexts besides making coffee for weirdos - and AeroPress, which I already have in my brewing tools collection, or obtainable second-hand for less than 30 dollars. The whole setup is still cheaper than the cheapest option on Amazon, even excluding the costly delivery fee.
The brewing details
I brew the coffee using proportions of 10 grams of coffee per 100 ml of water, a bit more than I used to do using the classic drip. I prepared the brew using 650 ml and 65 grams of the coffee. It was ground using Fellow Opus, on the 8th setting on the device’s coarse scale.
Water was mixed in proportions ~1:1 with ice, to make sure it was cold. I subtracted from the total the amount of water under the tap line which didn’t take part in the brewing process.
I used really fruity, tropical-tasting coffee, with a lot of flavor notes similar to kiwi.
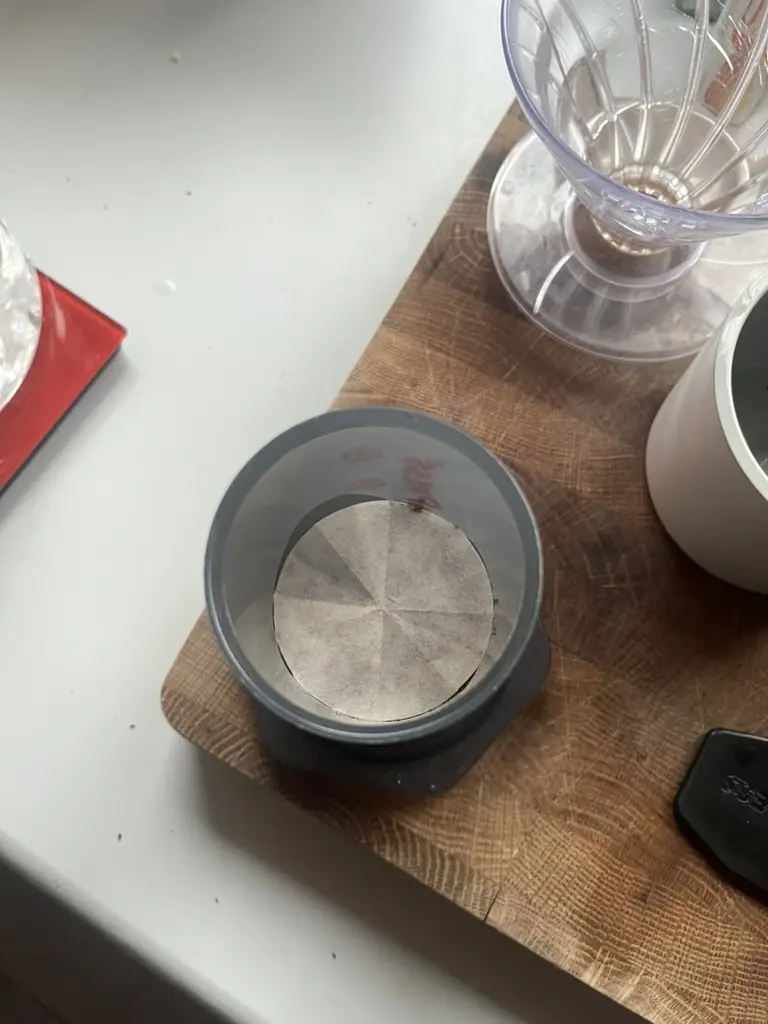
I also cut a part of classic AeroPress filter to make it smaller and put it on top of the coffee to equally distribute the water.
The brewing started at 17:30 by opening the tap, just enough to drip once per 1-2 seconds. The process ended around 0:30, totaling the time of brewing to 6 hours, but I left the AeroPress on the pot for half an hour to make sure everything dripped out of the thick layer of the ground coffee.
Results
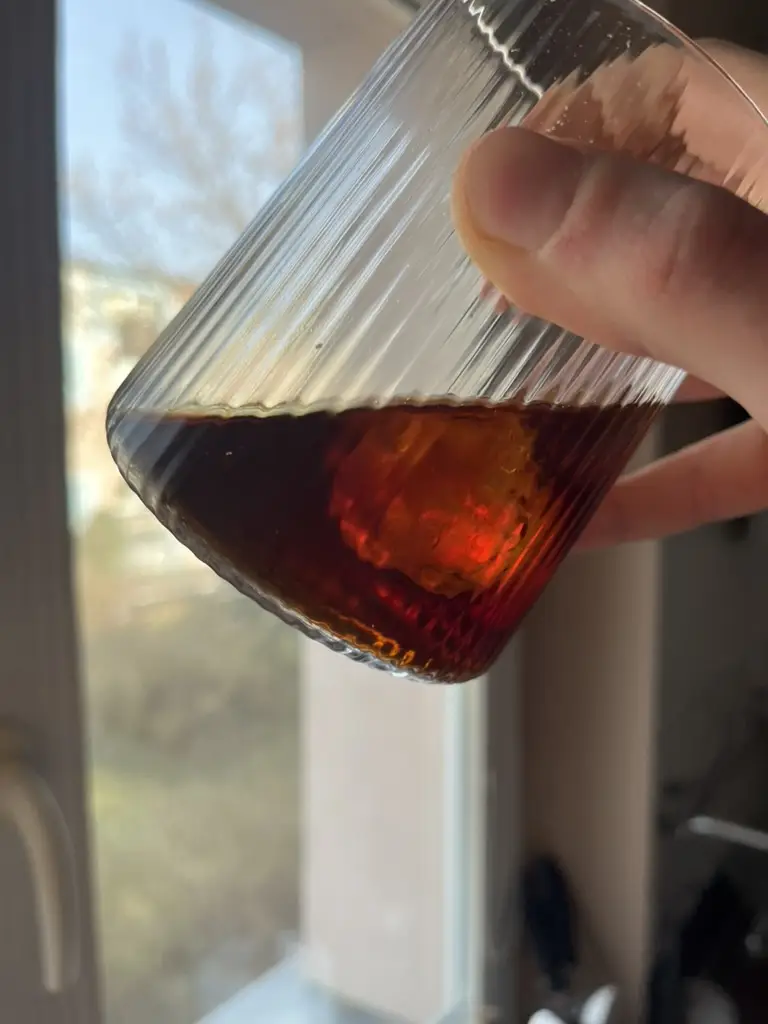
I tried the coffee the next day, and it was a great experience. Really similar to the classical cold brew, which I really love, next to no bitterness. The acidic, tropical taste was well rounded and intense. I enjoyed it mostly diluted a bit with ice, or just as a base for a tonic “espresso” drink.
Will I ever try it again?
I have no idea. The process was not as bad as I expected it to be - I read a lot of opinions about Kyoto cold drip being easy to mess up but overall - it was quite easy and I didn’t have to intervene for anything. But the taste was so close to something like cold brew (it’s worth noting - it was faster), and the whole machinery takes a lot of space in a small kitchen, that it probably didn’t make the method well suited for daily use, but summer is emerging quickly and maybe bored and tired from the heat wave I will do it again. Nevertheless, I think it was worth it to try it.